How to Blur Background in Lightroom?
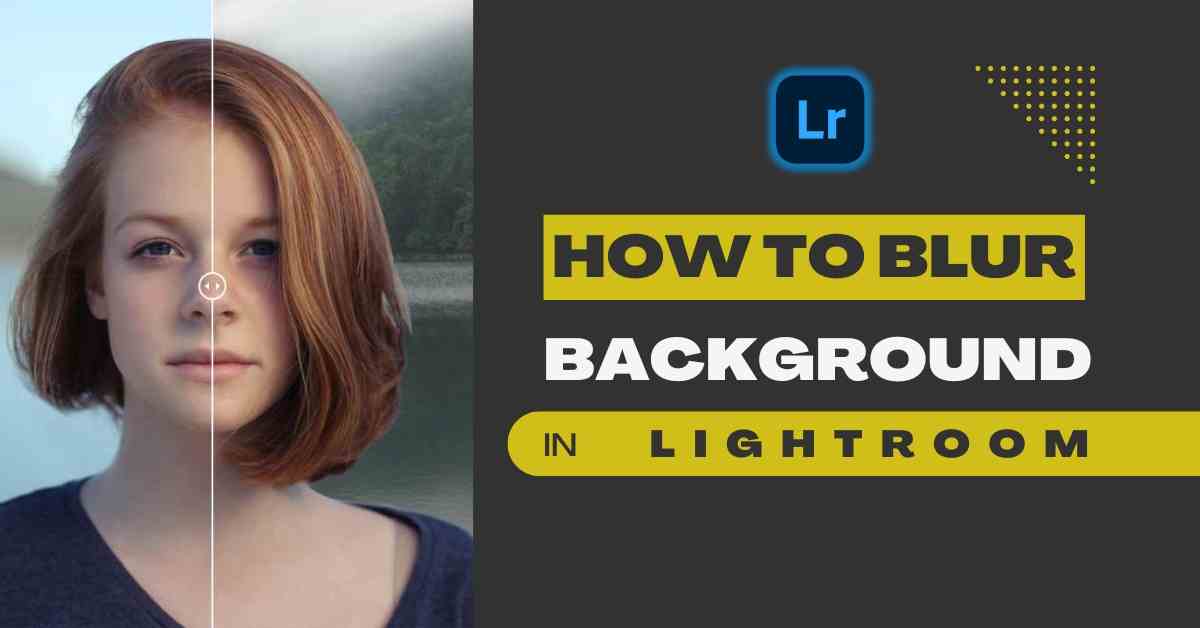
Blurring the background is a common technique used in photography and photo editing that shifts the focus to the subject of the image while making the background blur.
You might have seen this feature in many photo editing applications, where you can apply them to any image with just a single touch. However, it is not possible to blur the background in Lightroom directly in this way.
Background blurring is an attractive feature that allows you to create amazing photographs of both portraits and objects. It shifts the focus entirely on the subject of the image, which makes them look astonishing.
So, if you want to use this effect in Lightroom, you will have to put in a bit of effort to do so. However, you will be more than satisfied with the results. In this article, I will be sharing how to blur the background in Lightroom with detailed instructions.
Blur Background in Lightroom Mobile – A Step-by-Step Guide
Whether you are using Lightroom mobile or Lightroom MOD APK, the background blur effect cannot be applied directly to any photograph with just one touch. You will have to go through a detailed process in order to apply this effect.
Here is a step-by-step guide that will help you apply this effect to your desired photo:
Step 1: Open Lightroom Mobile and Import Picture
The very first step is to open the application, log into your account, and load the picture. You can import a picture from your gallery, from your cloud storage, or capture one directly.
Once the picture opens, you will be able to apply presets and editing effects. You won’t be able to locate the bokeh or blurring effect, because you have to manually create it.
Step 2: Use a Selective Tool To Mask Subject
This is the most important step so you should pay extra attention to the details. First, go to the menu and activate Selective Mode. Then, click on the + icon on the left side and choose a selective tool. You will have the option to choose from Radial Filter, Graduated Filter, or Brush.
Each of these tools can create different effects when it comes to blurring. Unlike the desktop version of Lightroom, there is no subject selection tool. Hence, you will have to manually mask the area.
The brush is the ideal tool for this job. You can choose Radial Filter if the subject is round or oval. A gradient filter is to be used when you want the image to have a gradual blurring effect.
Remember, after selecting the desired tool, you must mask the whole background area and not the subject. You can increase the size of the brush when doing sides and corners and decrease the size when you are closer to the subject to enhance accuracy.
Step 3: Adjust Sharpening Slider
Once you have masked all the areas that you want to blur, you can go to the menu and look for the Detail option. Inside this option, you will see all the sliders.
Drag the Sharpening slider to the left to blur the background. Depending on the method you have chosen for masking, you will see the blur effect on the image.
If you move the slider completely to the left, the background will lose all clarity and the subject will have extreme focus.
Step 4: Export Image
Once you are satisfied with the results, you can save the image in your desired format. If you are using Lightroom MOD APK, you will get more options when you are exporting images for free.
Step 5: Save Preset (Optional)
If you are going to blur multiple images or want to use this feature in the future, then you can save your settings as a preset. However, that still doesn’t mean that you will be able to apply this effect with a single click.
Actually, you will be saving the detail settings for how much you blurred the background in this image, and next time, after the masking, you won’t have to struggle with the slider and can just apply the effect.
Blur Background in Lightroom Desktop – A Step-by-Step Guide
If you are using the desktop version, then the Lightroom background blur effect will have a slightly different process. You have more options when it comes to editing and you also have more control of the blur effect.
Let me share detailed instructions on how you can the blur background in the Lightroom PC version:
- First of all, you need to import or load images on your Lightroom. You can load images directly from the camera, memory card, local storage, or cloud storage.
- In the next step, you must enter the Develop module on Lightroom. Go to the option, Add a New Mask, and then select the subject tool.
- Just like Lightroom mobile, you can select one of the various subject tools. However, in addition to the Brush Tool, Radial Filter, and Gradient Filter, you also have the Subject Selection tool.
- The subject selection tool automatically selects the subject. You can go to the options and click on invest, which will mask the entire background and leave the subject unselected.
- Instead, if you choose to go with one of the other three options, you will have to manually mask the entire background. You can increase the size of the masking tool when doing sides and corners, and decrease the size when you are closer to the subject for higher accuracy.
- Once you have masked the entire background or the area you want to blur, you can proceed to apply the blur effect. You will have to use two sliders: clarity slider and sharpness slider. Move them both to the left to apply the blur effect.
- If there are inconsistencies in the blurring, then perhaps you made an error while masking. Go back to the subject selection and mask the area correctly. If you have accidentally masked a portion of the subject, you can use the eraser tool to remove it.
- Once the edits are up to your satisfaction, you can export the image to your desired location.
- If you are going to apply this blur effect to other photos, then you can save the current settings as a preset. This will save you the time of adjusting sliders in the future. You can directly apply the preset after masking your selection.
Blur Background Directly When Capturing Photos
If you are learning to become a professional photographer, you should learn to blur the background directly when taking pictures from a camera. There is no need to blur it later on in the Lightroom.
Use a lens with a wide aperture. This will allow you to control the Depth of Field which selects the subject area and adjusts sharpness and focus accordingly.
Hence, when you use a wide aperture, the subject will be automatically in focus and the background will be blurred. Then, you can make further enhancements during editing.
Frequently Asked Questions
Conclusion
Summing it all up, you can blur the background in Lightroom using various tools. Although there is no direct tool available, you can create the effect manually. It takes a bit of effort but it is totally worth it.
Learning how to blur the background in Lightroom will help you master the masking tool and also give precise control over the blurring effect. You can create several kinds of unique blur effects instead of the simple pre-made ones that are available in other applications.

