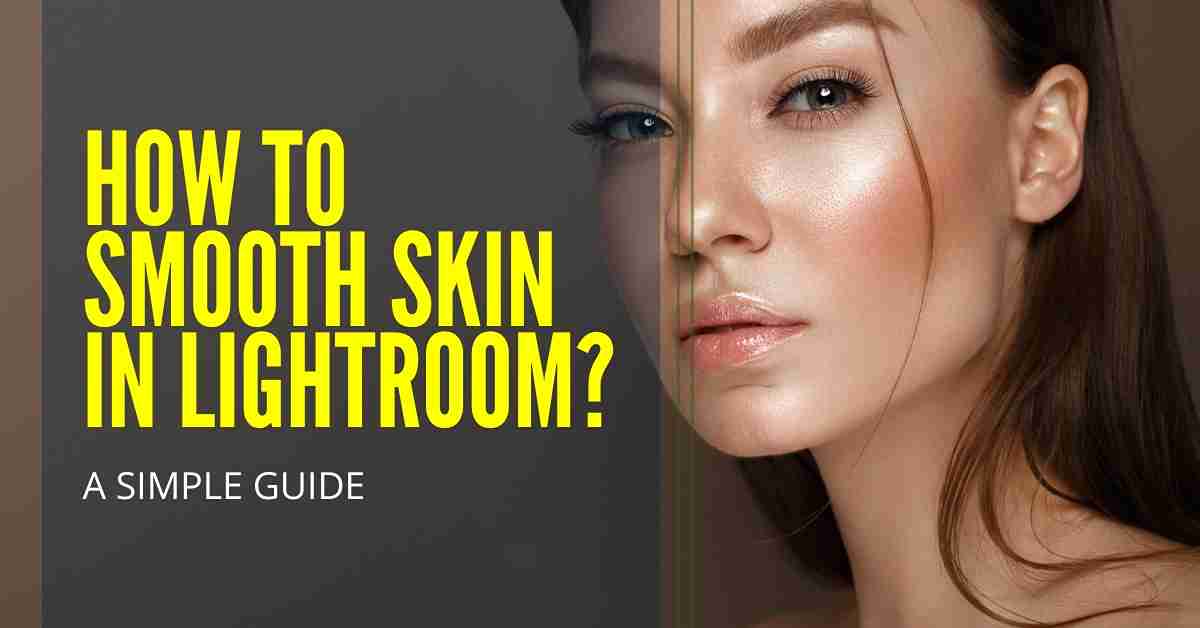
How To Smooth Skin in Lightroom? – A Simple Guide
Modern cameras provide stunning photographs that depict every detail just like the real object. When capturing portraits, it can backfire, especially when people don’t have their makeup on. The pictures will show every minute detail of your face including pimples, broken skin, blemishes et cetera. That’s where Lightroom Smooth Skin comes in.
You can make your skin smoother in Lightroom, which will give your skin a polished look and make you appear a lot more attractive. When editing portraits or personal pictures, this feature can really enhance the appearance of the face and body parts where the skin is visible.
In this article, we will be exploring how you can edit your photos in Adobe Lightroom to make your skin smoother and which tools will help you achieve this effect.
Skin Smoothening in Lightroom – A Step-by-Step Guide
Let’s dive into detailed instructions that will help you achieve smooth skin in Lightroom. If you are a beginner, then this guide is perfect for you, as it will help you learn all the steps. This process can also be termed skin softening or skin retouching. Let’s get right to it:
Step 1: Removing Spots and Blemishes
Before you start with the skin smoothening process, the first step is to remove any spots and pimples from your face. When editing a photograph, whether with one or multiple people, removing spots and blemishes must be done separately and before you use the smooth feature.
The reason is that smoothening the skin will not remove the spots and blemishes. Hence, you will have to do it manually. However, it is an easy process and can be done in just a few minutes. Here’s what you have to do:
- First of all, open the Lightroom app on your PC or Mobile and load the picture you want to edit.
- Zoom in on the face and go to edit tools. You have to access the Bandage Tool which might be named Spot Removal depending on your version of the app.
- In the bandage tool, click on heal, which will look like the bandage icon, and adjust the size of the tool as per the size of the spots and blemishes on the screen.
- It is important that you zoom in on the picture to get the best results. Zooming in will allow you to see the small details and remove all the spots from the skin.
- You might have to zoom in and zoom out several times to get all the spots and then you can proceed to the next step. The bandage tool will work like an eraser and remove all the spots and blemishes from your face.
Step 2: Selecting Face with Masking Feature
If you are a beginner and don’t know much about skin retouching, then you will be amazed to know that with lightroom presets and masking features, you have little to do to smoothen the skin. All the work is done automatically by Lightroom itself.
Adobe Lightroom comes with a feature called Masking or Auto-Face Selection that is available in both the desktop version and Lightroom mobile. This feature automatically selects the face in the photograph for editing, so that you don’t manually have to select the whole face using the brush. Here’s what you have to do:
- In the Edit section, go to Masking and select it.
- The tool will automatically identify all the faces in the photograph. In case you are editing a portrait of one person, there will only be one face. Otherwise, you will have to select each face separately.
- In the masking tool, you will have options to select the Face Skin or skin of other parts of the body. As you are smoothening the skin right now, you have to select Face Skin first.
- Once you have selected the Face, the masking tool will automatically mark the whole face in the photograph ready for editing.
If, for some reason, the masking tool is not identifying the face in the picture or isn’t working properly, you will have to manually mask the face with the Brush tool. It happens when you have a group photo and there are multiple faces in the picture. The masking tool might not be able to correctly identify and mark all the faces.
Hence, you should select the brush tool, zoom in on the face you want to edit and paint the whole face while avoiding eyebrows, beard and hair.
Step 3: Softening Skin Using Presets
After selecting the face or rather masking it, the next step is to apply skin-softening effects. To smoothen the skin, Lightroom comes with two presets. They are ter as Soft Skin and Soft Skin Lite.
Click on “Effects” which is an option near the Brush tool in the Masking section. From tdrop-downown menu, you will see multiple options with Presets in the downward section.
You can apply Soften Skin Lite first and see the results. If you are not satisfied with the results, you can appthe ly Soften Skin preset. Both presets have their own adjustments for parameters. These presets are free to use and are available in both desktop and mobile versions of the application.
Once you apply a preset, you will get the Amount Slider option that can be adjusted to soften skin more or less.
Step 4: Manually Adjust Parameters
If you are not satisfied with both presets, then you can adjust the parameters to create your own. There are three important parameters that you should pay attention to when softening or smoothening the skin. These are Clarity, Texture, and Sharpness. Adjust these parameters to your liking and you will see the smoothening effect on your skin.
If you are a beginner, then you should know that more clarity, texture, and sharpness reduce the smoothness. So, you must move the sliders to the left to smoothen the skin more.
However, you should not move them completely to the left to zero, because that would make your skin over-smooth which will look fake or ridiculous. Keep adjusting the sliders until you have reached a balance and are satisfied with the results. Then, you can save these settings as a new preset and use it for smoothening skin next time. Hence, you will only have to apply the preset with a single touch instead of going through the whole process again.
Frequently Asked Questions
Conclusion
Smoothening the skin makes your photographs look a lot more stunning and polished. You will be able to remove the spots and blemishes from the skin, and make it look a lot smoother. This guide shares detailed instructions that will allow even a beginner to smoothen the skin of anyone in Adobe Lightroom.